Module 2: Configuration and Download
Introduction to Katalon and Salesforce Automation
Setting up Salesforce Developer edition account
Setting up a Salesforce development environment involves several key steps. Salesforce offers a robust platform for developing and testing applications within its ecosystem, including the use of Salesforce DX (Developer Experience) and the Salesforce CLI (Command Line Interface) for an improved developer experience. Here’s how to get started:
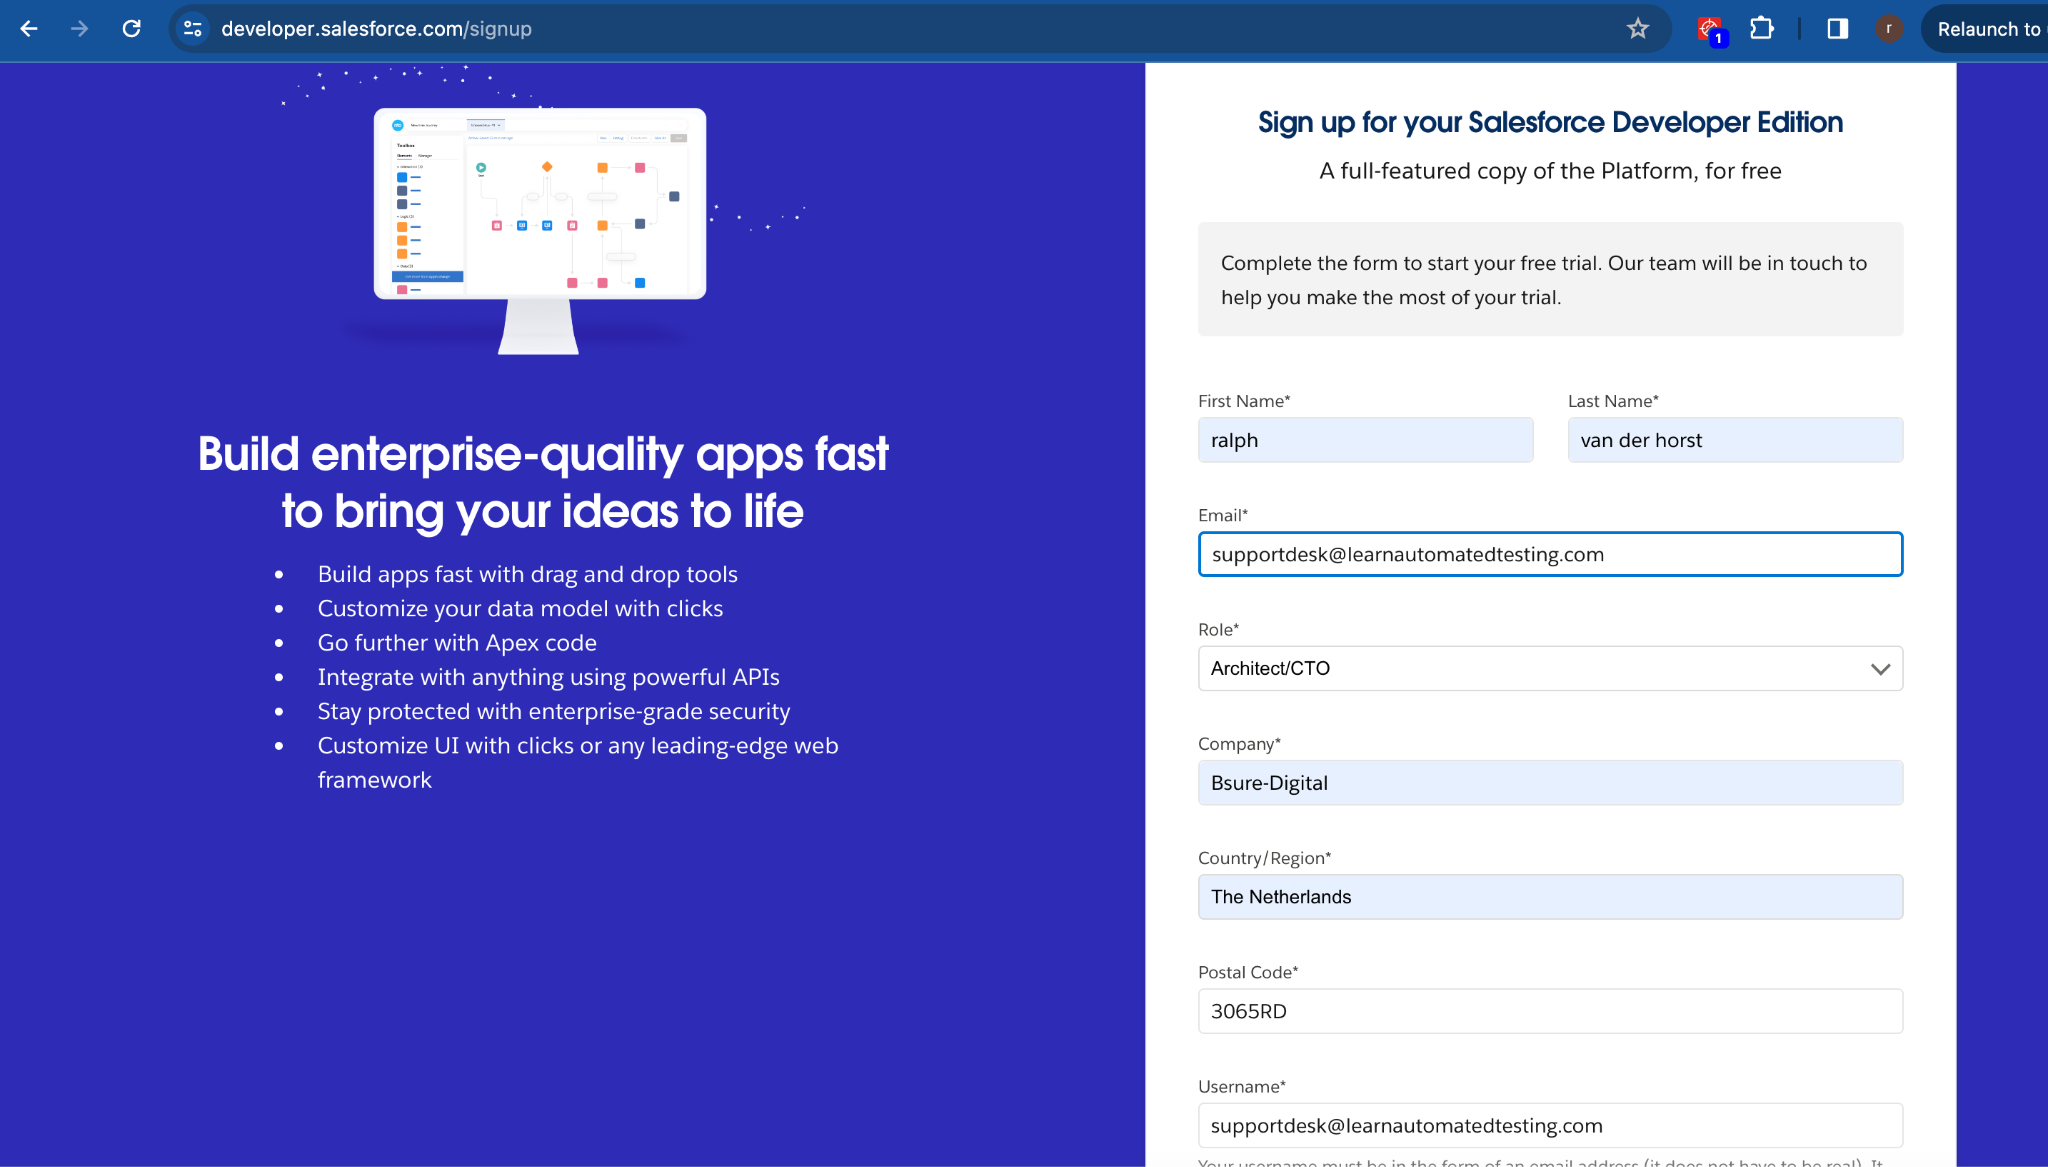
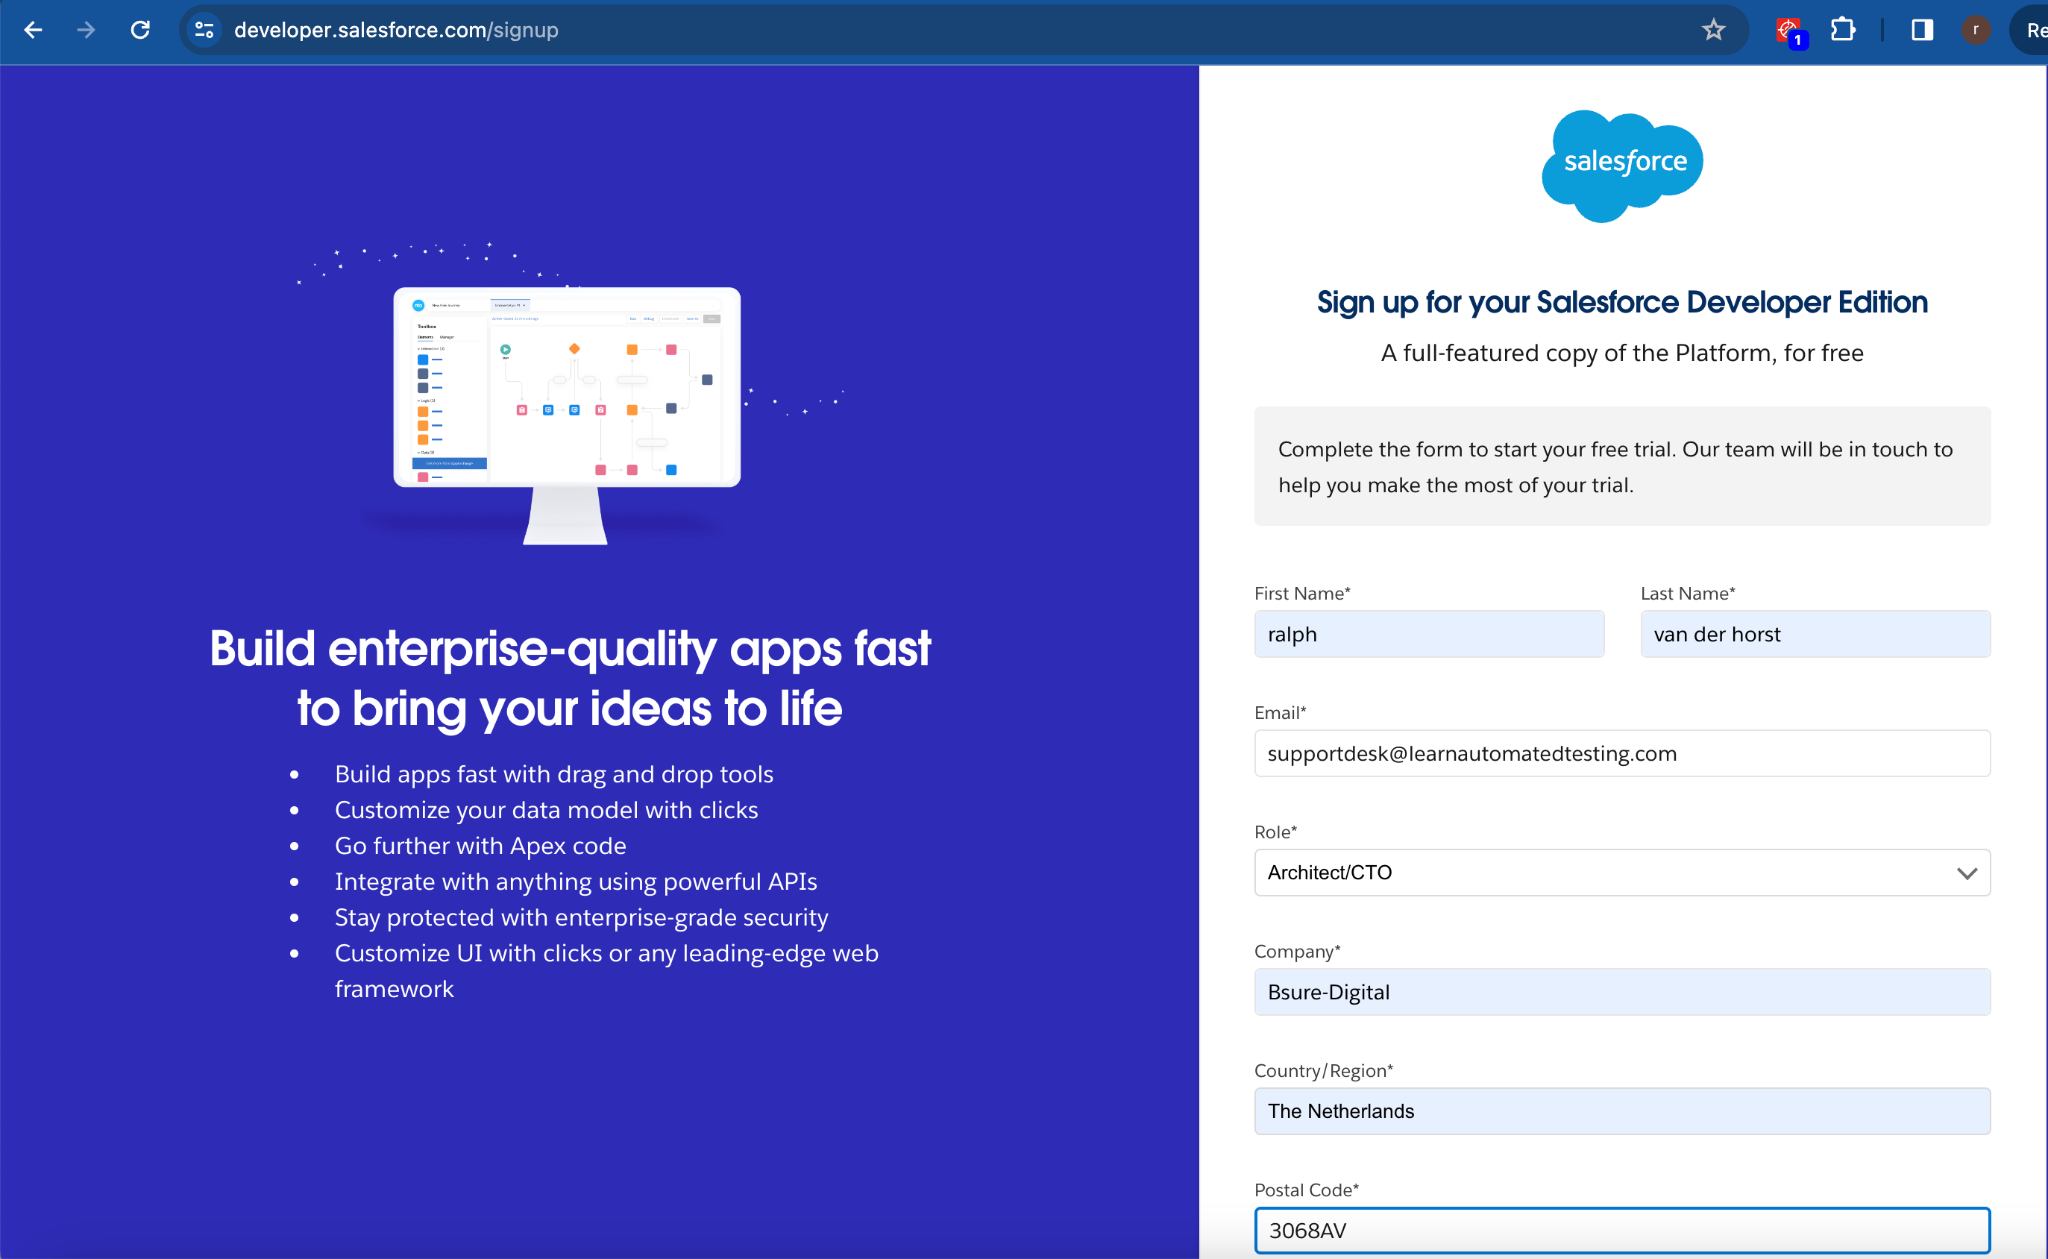
1. Sign Up for a Salesforce Developer Edition Account
- Developer Edition (DE) Account: This is a free account provided by Salesforce, offering access to most of the Salesforce platform’s features for development purposes. Sign up at developer.salesforce.com/signup.
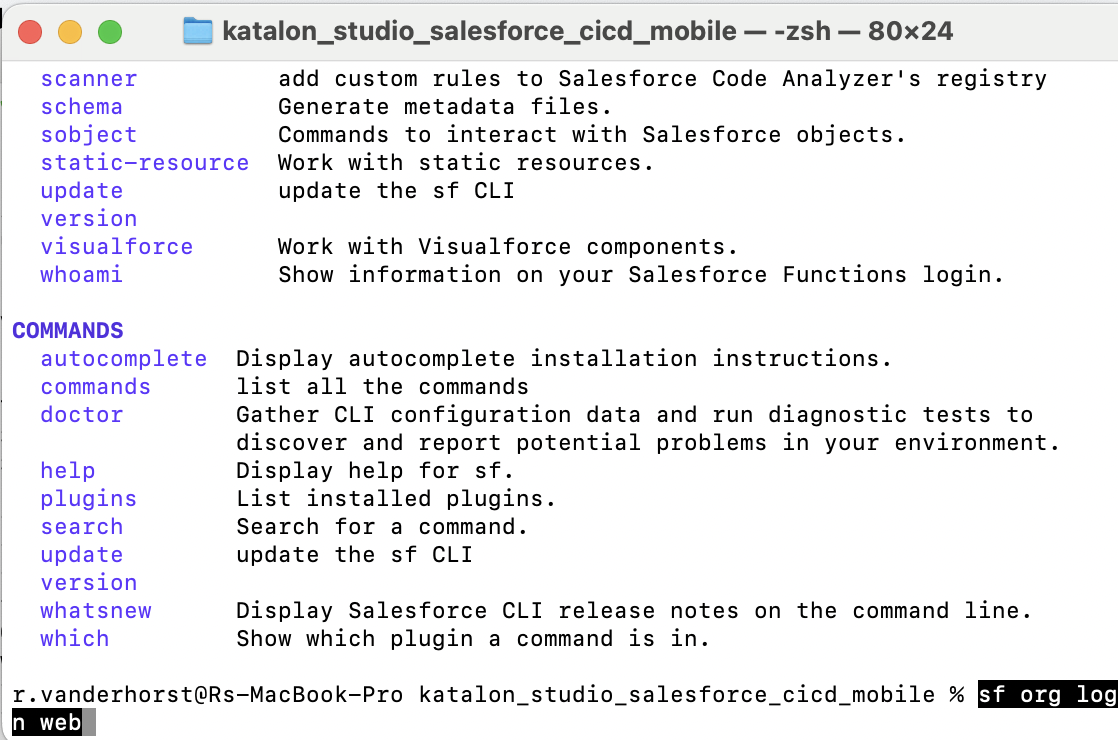
2. Install Salesforce CLI
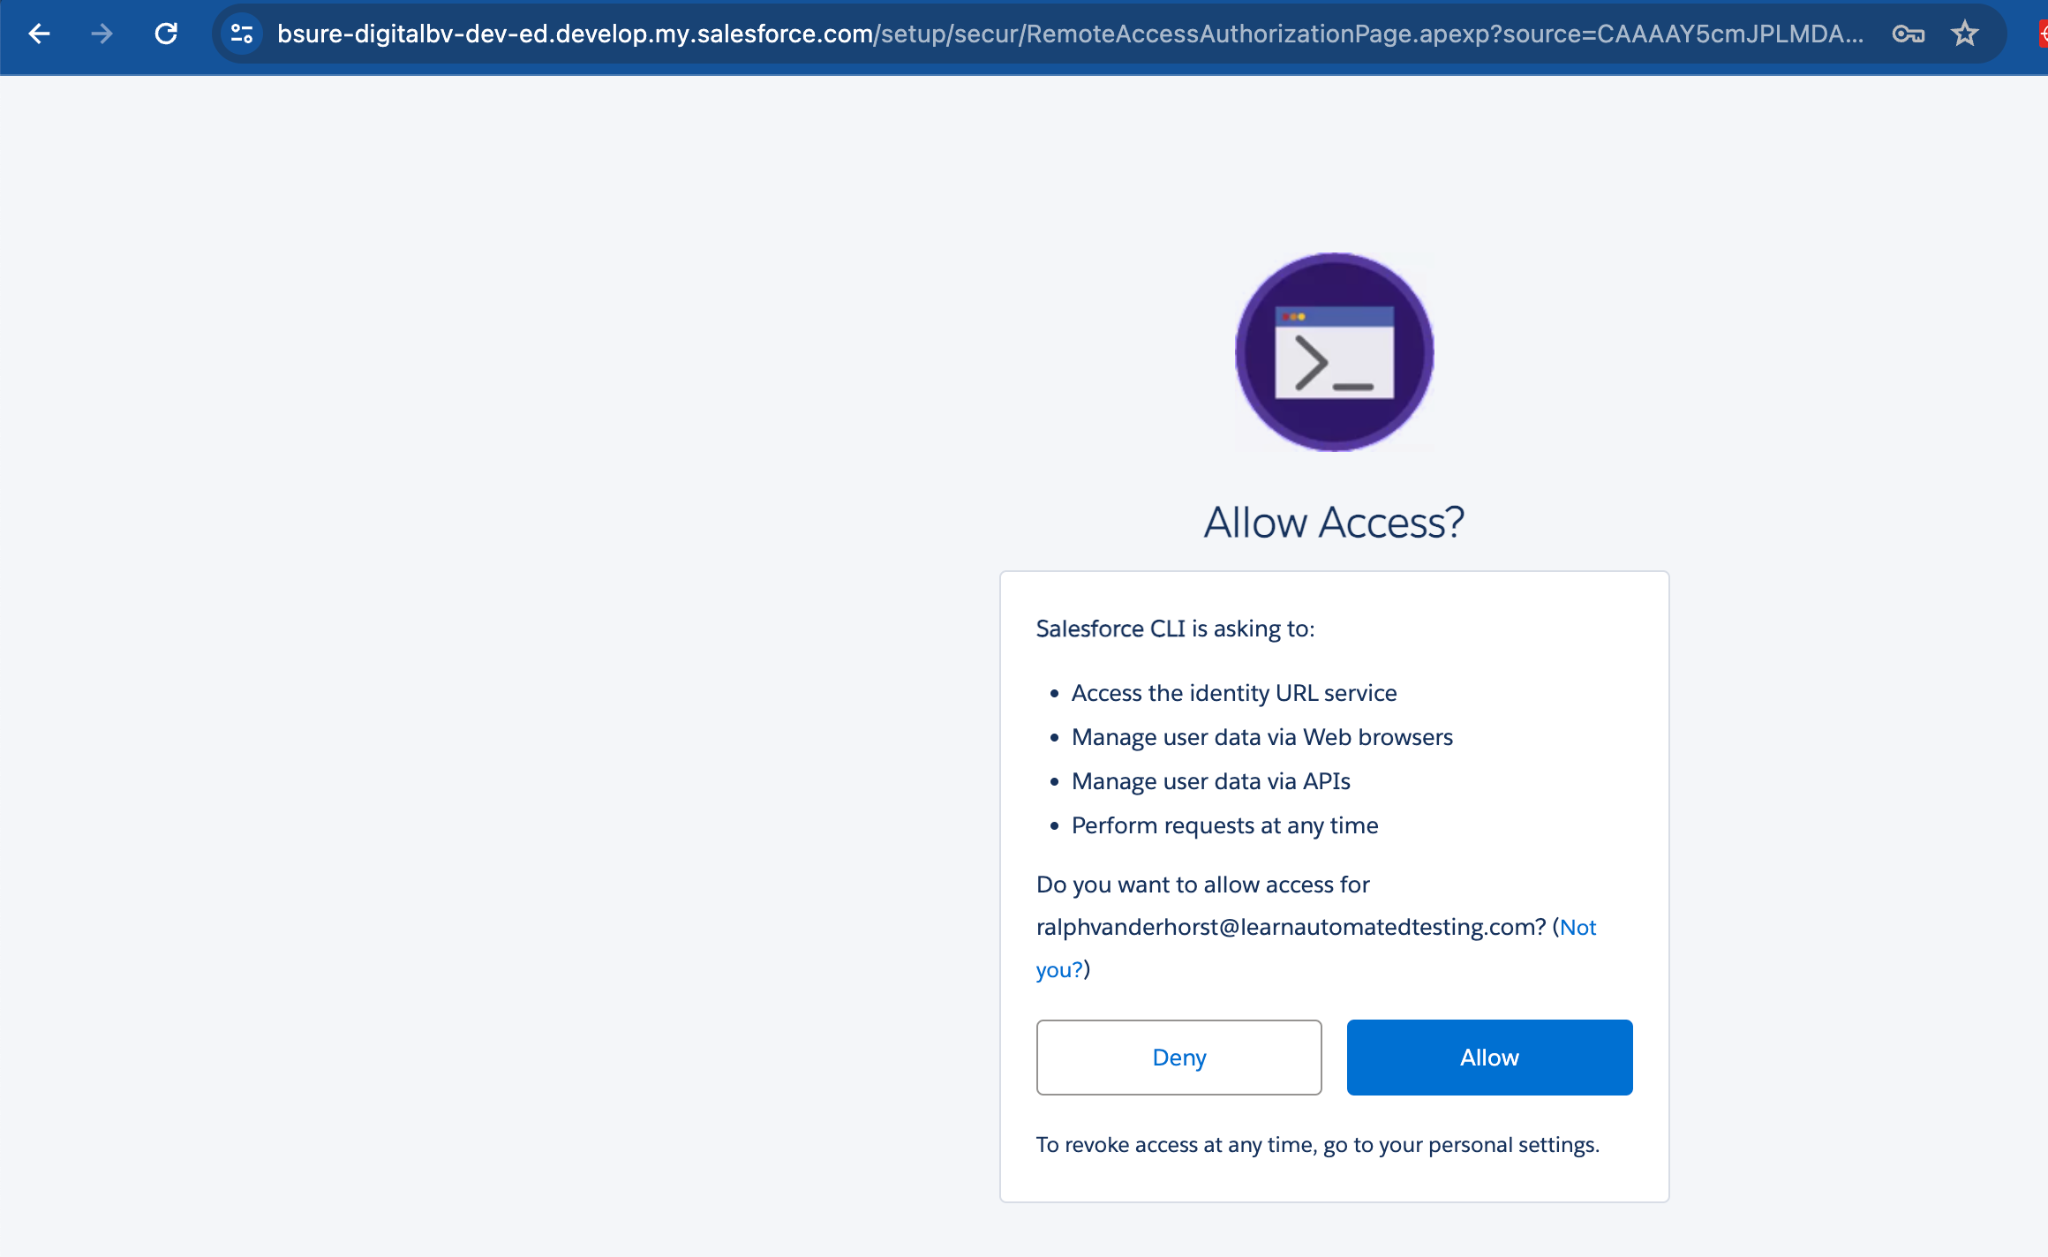
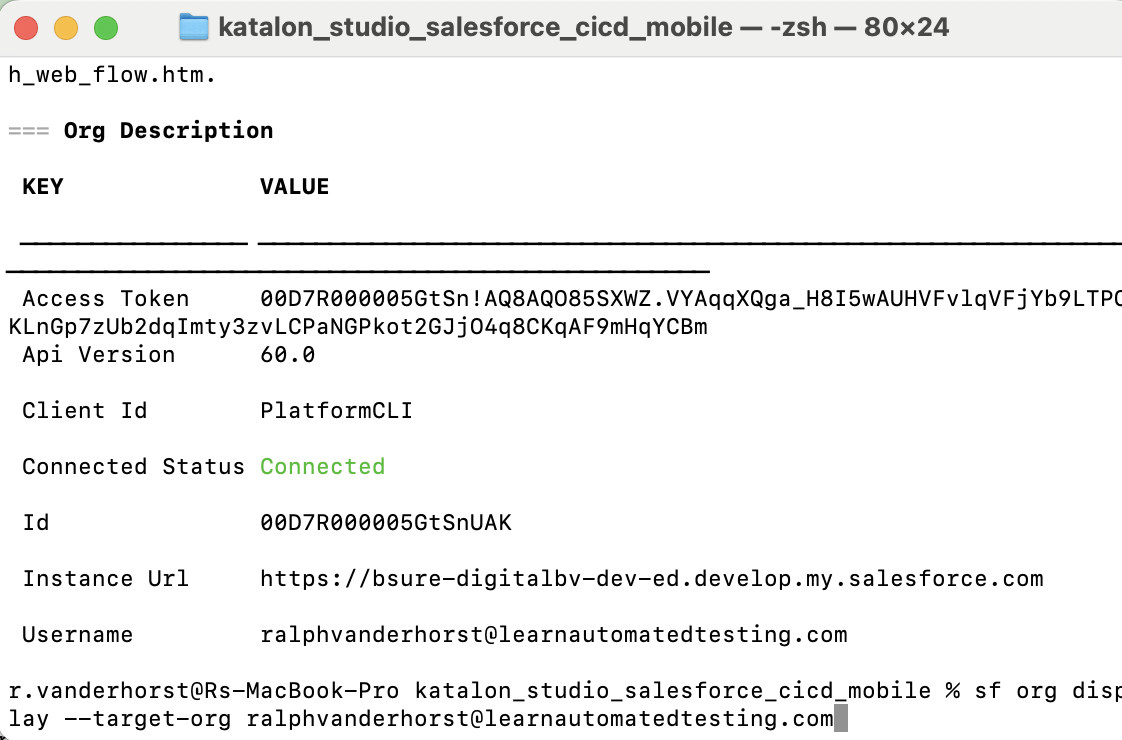
- The Salesforce CLI is a powerful command line interface that simplifies the development and deployment of Salesforce applications.
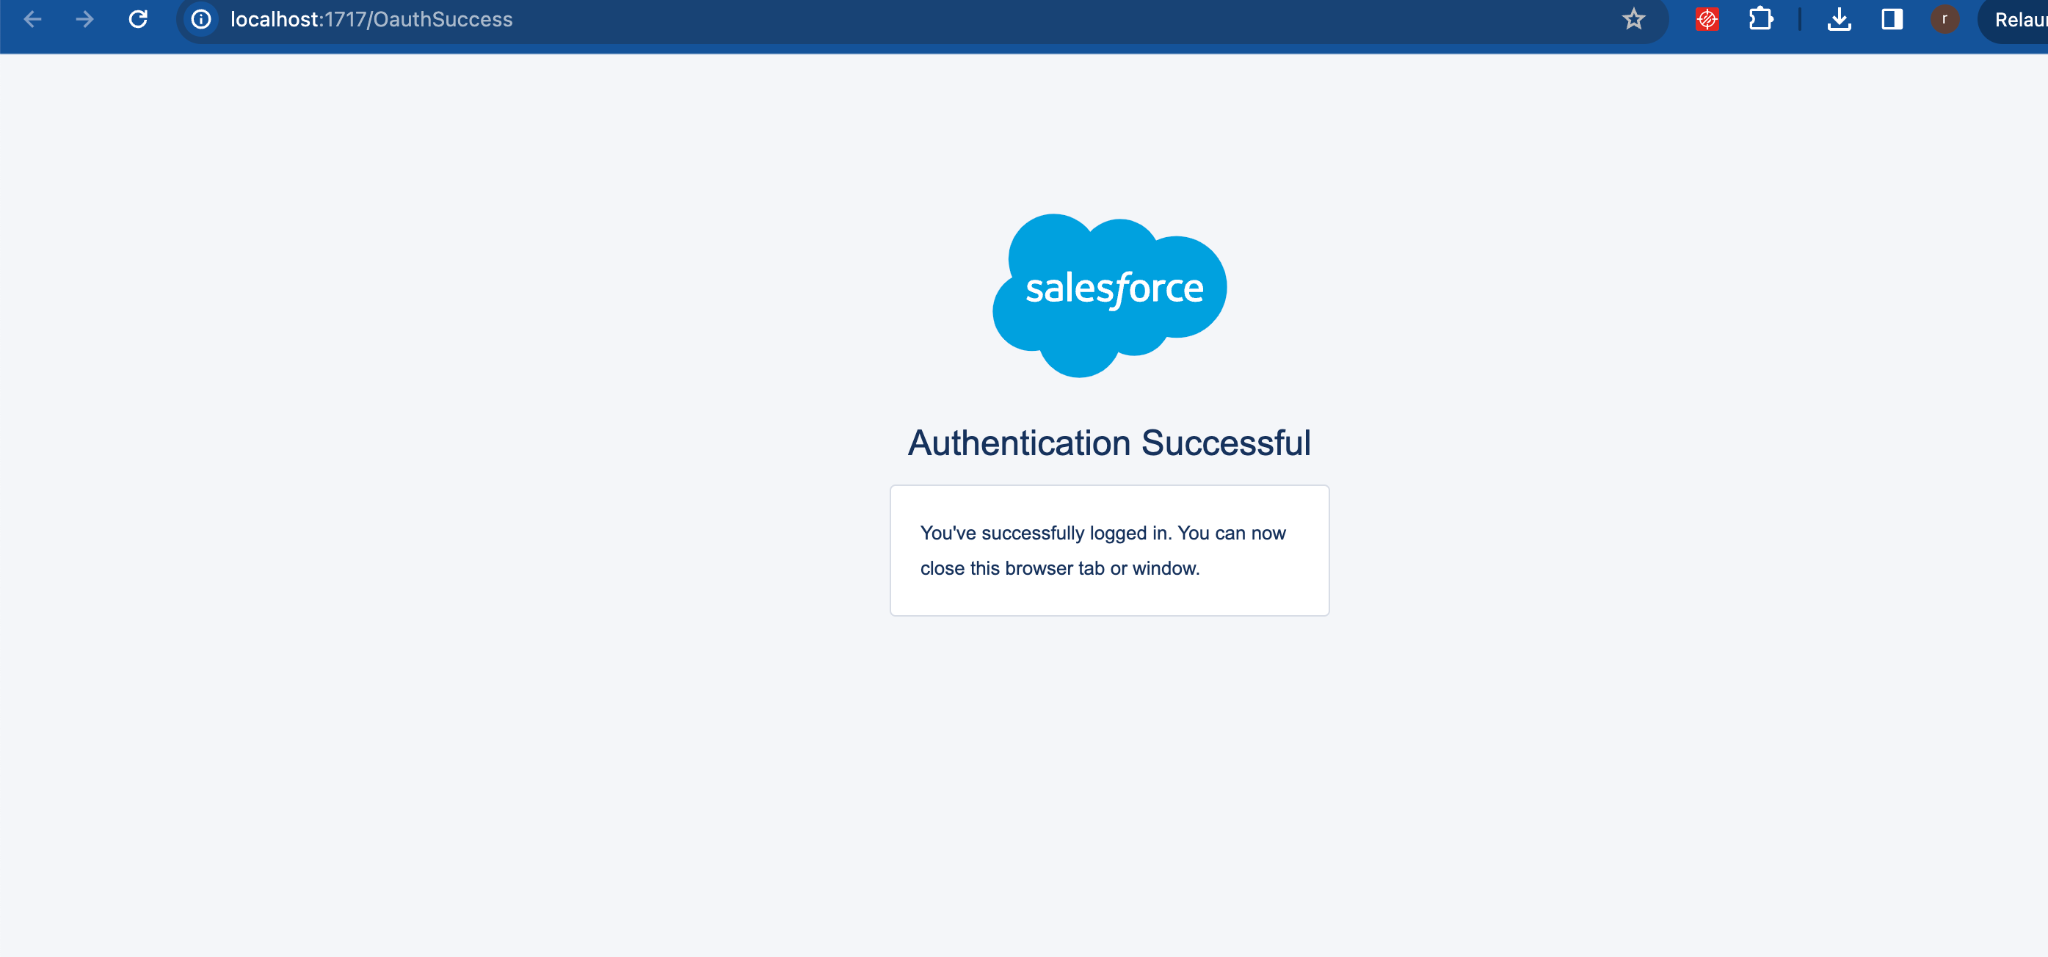
- Download and Install: Visit Salesforce CLI documentation page and follow the instructions to download and install the CLI for your operating system (Windows, macOS, or Linux). This we can use to setup an oauth bearer token which we can use for api testing and running the scripts in cicd. We will dive deeper into this and other possibilities later
3. Install Visual Studio Code or any other IDE for your liking
- Visual Studio Code (VS Code) is a popular, lightweight code editor that’s widely used for Salesforce development.
- Download and Install: Go to Visual Studio Code and download the installer for your operating system. After completing the installation you are ready to start the course Automatedtesting Katalon with Salesforce.