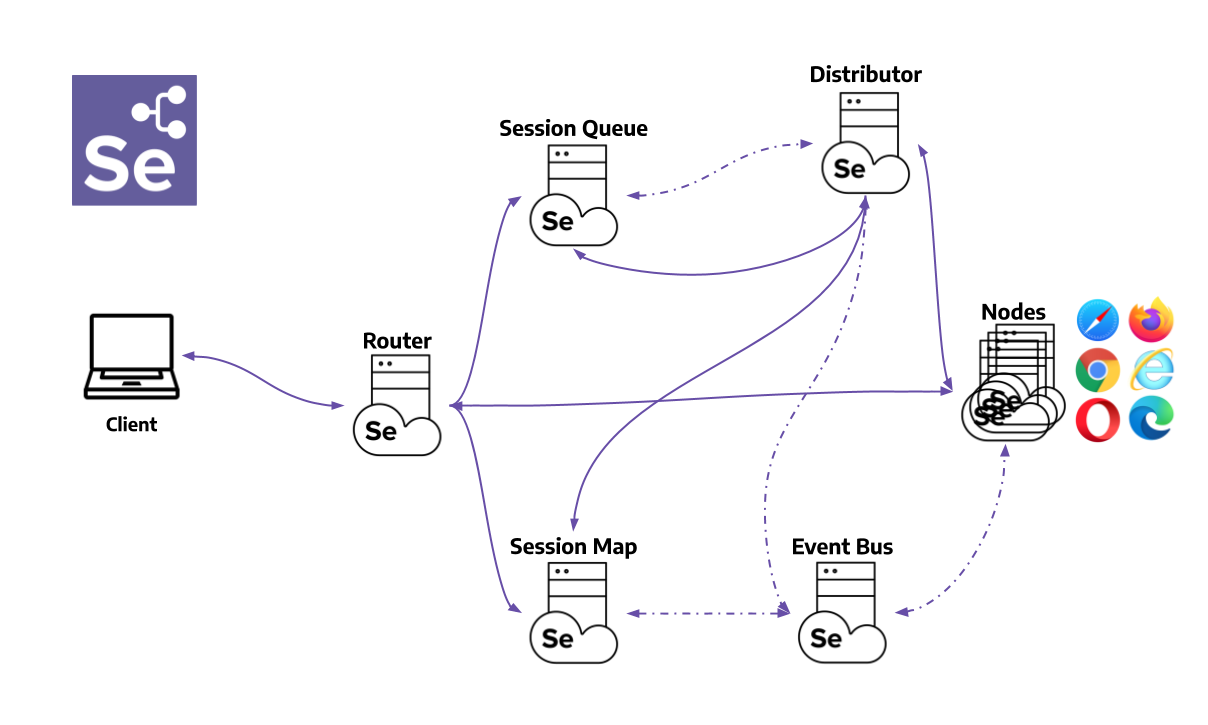
How to Set Up Selenium Grid 4 Locally (Manual & Docker Compose)
Selenium Grid 4 lets you run your tests in parallel across different browsers and systems. Whether you’re running quick tests or building scalable pipelines, you can get started either manually or with Docker Compose.
While the manual method helps you understand how Selenium Grid works behind the scenes, Docker Compose is the easiest and most scalable way to manage the grid.
Fastest Way: Docker Compose Setup
If you’re familiar with Docker, this method is highly recommended. It only takes a few commands to get everything up and running.
Step 1: Prerequisites
Make sure Docker and Docker Compose are installed on your system. You can get them from docker.com.
Step 2: Create a docker-compose.yml File
In any folder, create a file named docker-compose.yml and paste in the following configuration:
version: '3'
services:
  selenium-hub:
    image: selenium/hub:4.17.0
    container_name: selenium-hub
    ports:
      - "4444:4444"

  chrome-node:
    image: selenium/node-chrome:4.17.0
    depends_on:
      - selenium-hub
    environment:
      - SE_EVENT_BUS_HOST=selenium-hub
      - SE_EVENT_BUS_PUBLISH_PORT=4442
      - SE_EVENT_BUS_SUBSCRIBE_PORT=4443
    volumes:
      - /dev/shm:/dev/shm

  firefox-node:
    image: selenium/node-firefox:4.17.0
    depends_on:
      - selenium-hub
    environment:
      - SE_EVENT_BUS_HOST=selenium-hub
      - SE_EVENT_BUS_PUBLISH_PORT=4442
      - SE_EVENT_BUS_SUBSCRIBE_PORT=4443
    volumes:
      - /dev/shm:/dev/shm
Step 3: Start Selenium Grid
Open a terminal in the directory where you saved the file and run:
docker-compose up -d
That’s it! The Selenium Hub and nodes will start in the background.
Visit http://localhost:4444/ui in your browser to check the Grid status.
Optional: Scale Your Grid
Want more browser nodes?
docker-compose up -d --scale chrome-node=2 --scale firefox-node=2
Stop and Remove Grid
When you’re done, shut everything down with:
docker-compose down
Manual Setup on Windows (No Docker)
Prefer to run everything locally without containers? Here’s how to do that.
Step 1: Prerequisites
- Java 11 or higher must be installed:
java -version - Download the latest Selenium Server JAR from the official releases: https://github.com/SeleniumHQ/selenium/releases
Look for a file like:
selenium-server-4.17.0.jar
Save it somewhere accessible on your machine.
Step 2: Start the Hub
Open a Command Prompt and run:
java -jar selenium-server-4.17.0.jar hub
Step 3: Start a Node
In a second Command Prompt window, run:
java -jar selenium-server-4.17.0.jar node --selenium-manager true
This connects the node to the hub.
Step 4: Verify It’s Running
Go to http://localhost:4444/ui in your browser. You should see the hub and connected node.
Test with curl
Use the following command to test the Grid by opening a browser session:
curl --location 'http://localhost:4444/session' \
--header 'Content-Type: application/json; charset=utf-8' \
--data '{
  "capabilities": {
    "firstMatch": [
      {
        "goog:chromeOptions": {
          "args": [],
          "extensions": []
        },
        "browserName": "chrome"
      }
    ]
  }
}'
Troubleshooting Tips
- Port Conflicts: Port 4444 must be free.
- Java Issues: Ensure Java is properly added to your system PATH.
- Firewall: Allow access to port 4444 in your firewall settings.
Conclusion
For most users, Docker Compose is the best way to get started with Selenium Grid 4. It’s fast, clean, and lets you scale with a single command. But if you’re curious about how it works under the hood or need to run it manually, the local setup still works great.
Choose what fits your workflow and start automating!


