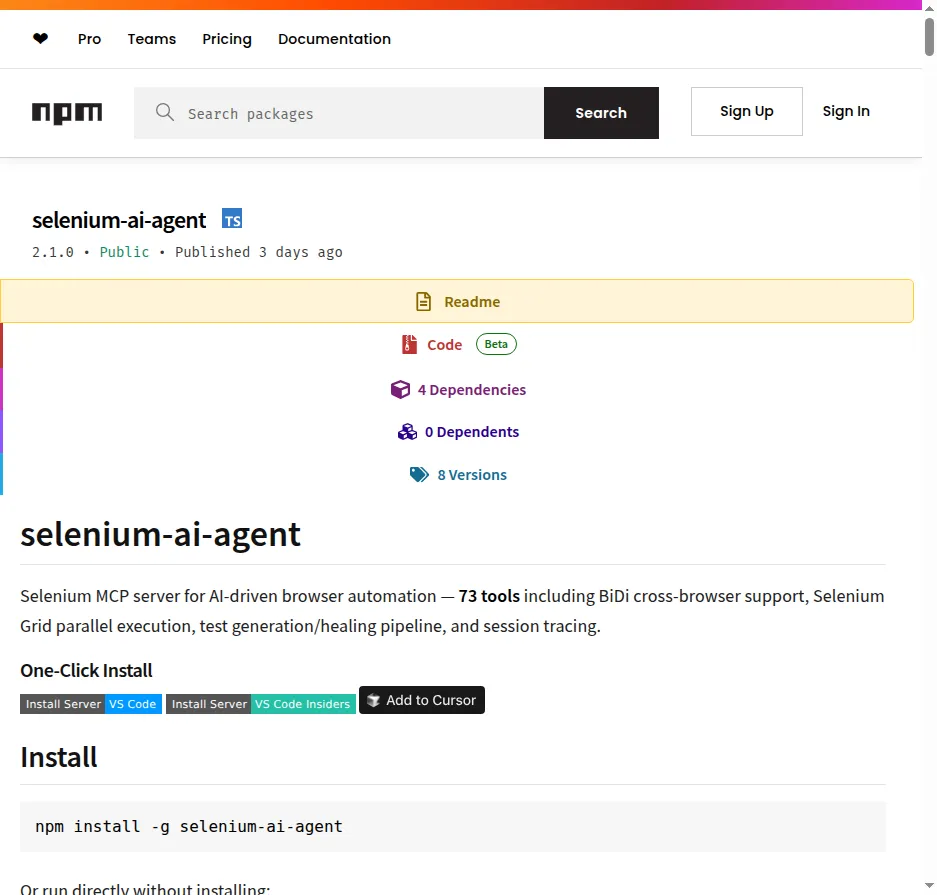
Getting Started with selenium-ai-agent: AI-Driven Browser Automation via MCP
If you’ve ever wished you could just tell your AI assistant to open a browser, click through a website, fill out forms, and verify that everything works — without writing a single line of Selenium code yourself — that’s exactly what selenium-ai-agent does.
It’s an MCP (Model Context Protocol) server that gives AI assistants like Claude, Copilot, Cursor, and Cline the ability to control a real browser with 73 built-in tools. In this post, we’ll walk through what it is, how to install it, and see it in action using practiceautomatedtesting.com as our testing playground.
What Is selenium-ai-agent?
At its core, selenium-ai-agent is an npm package that acts as a bridge between your AI coding assistant and a Selenium-powered browser. Instead of writing WebDriver scripts by hand, you describe what you want in natural language, and the AI translates that into real browser actions — navigating pages, clicking elements, filling inputs, taking screenshots, and even running tests across a Selenium Grid.
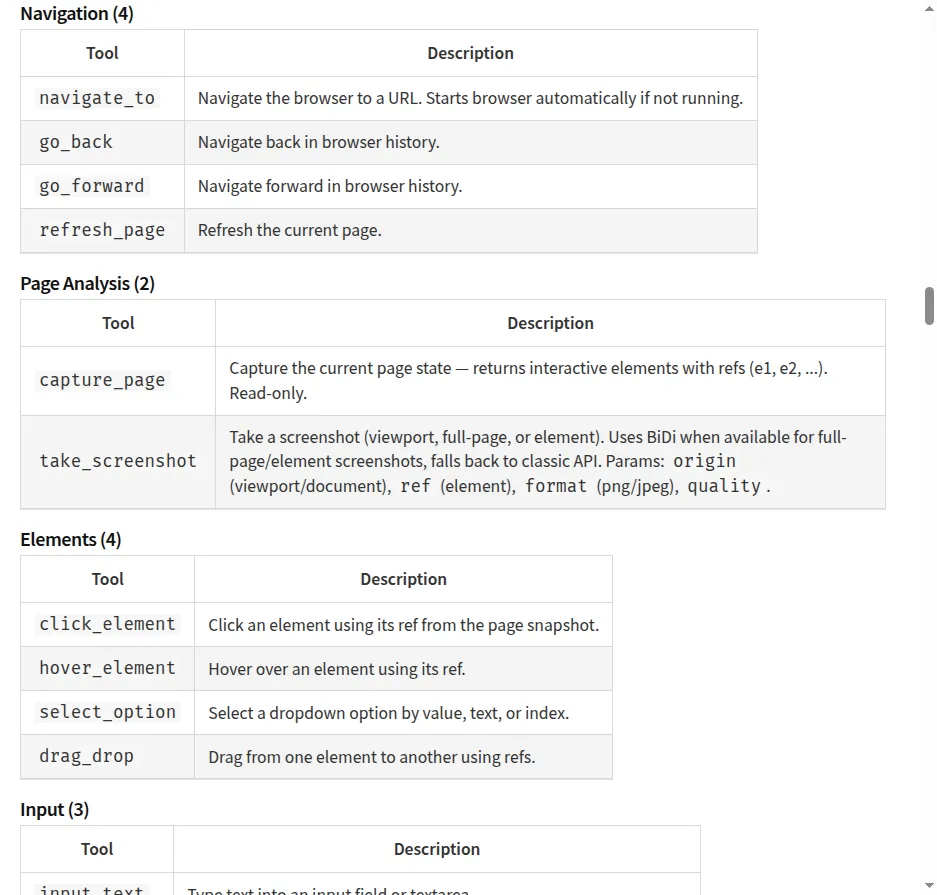
The package ships with 73 tools organized into categories:
- Navigation — browse to URLs, go back/forward, refresh
- Page Analysis — capture interactive elements, take screenshots
- Element Interaction — click, hover, drag-and-drop, select from dropdowns
- Input — type text, press keys, upload files
- Verification — assert that elements, text, or values are visible
- Test Pipeline — plan tests, generate test scripts, and heal broken tests
- Selenium Grid — manage parallel browser sessions across multiple nodes
Installation
You can install it globally or run it directly without installing:
# Install globally
npm install -g selenium-ai-agent

# Or run directly with npx
npx selenium-ai-agent
Requirements: Node.js 18+ and a Chrome browser (Firefox and Edge are also supported). ChromeDriver is managed automatically.
Setting It Up With Your AI Client
The setup is the same across most MCP-compatible clients. Add the following to your client’s MCP configuration:
Claude Code
claude mcp add selenium-mcp -- npx selenium-ai-agent
Claude Desktop, Cursor, Cline, Windsurf
Add to your MCP config file:
{
  "mcpServers": {
    "selenium-mcp": {
      "command": "npx",
      "args": ["selenium-ai-agent"]
    }
  }
}
Config file locations for Claude Desktop:
- macOS:
~/Library/Application Support/Claude/claude_desktop_config.json - Windows:
%APPDATA%\Claude\claude_desktop_config.json - Linux:
~/.config/Claude/claude_desktop_config.json
GitHub Copilot (VS Code 1.99+)
Add to .vscode/mcp.json (note: Copilot uses "servers" instead of "mcpServers"):
{
  "servers": {
    "selenium-mcp": {
      "command": "npx",
      "args": ["selenium-ai-agent"],
      "type": "stdio"
    }
  }
}
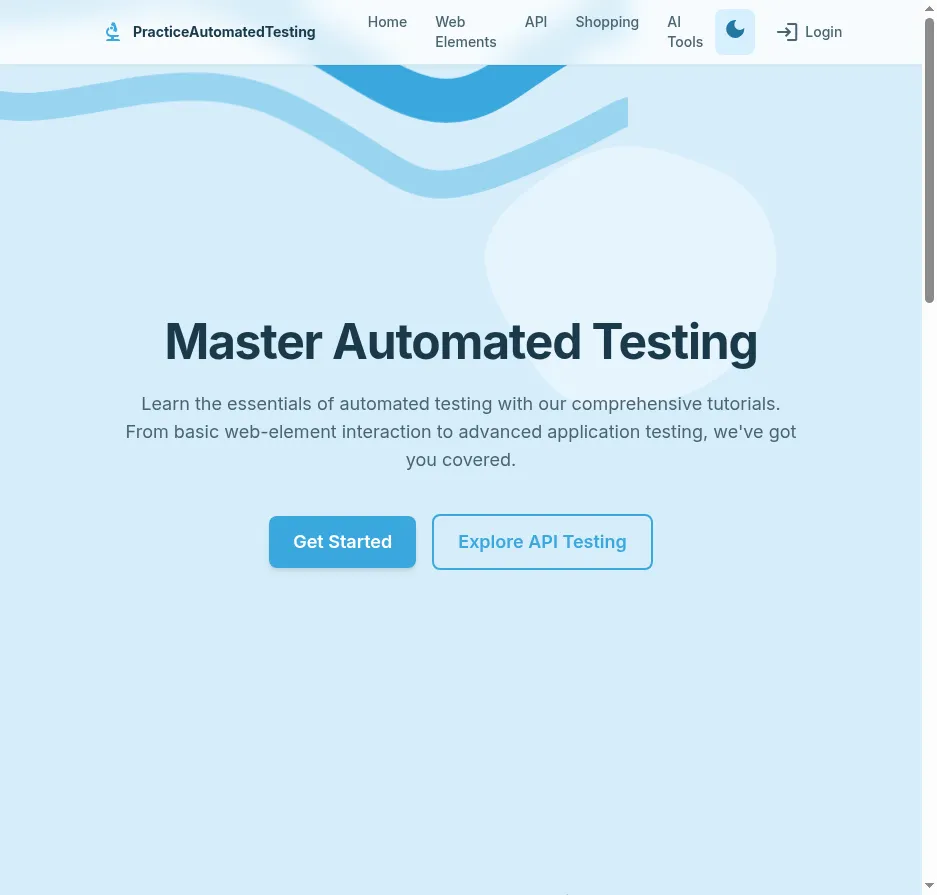
Hands-On Example: Exploring practiceautomatedtesting.com
Let’s see selenium-ai-agent in action. practiceautomatedtesting.com is a free practice site built specifically for learning test automation. It features web element exercises, API testing endpoints, a shopping application, and AI testing tools — making it a perfect playground.
Step 1: Navigate to the Site
Once the MCP server is running, you simply ask your AI assistant:
“Navigate to practiceautomatedtesting.com”
Behind the scenes, the assistant calls the navigate_to tool:
Tool: navigate_to
URL: https://practiceautomatedtesting.com
The tool returns the page title, URL, and all interactive elements on the page with reference IDs (e1, e2, e3, etc.) that can be used for subsequent actions:
Page: Home
URL: https://practiceautomatedtesting.com/

Interactive Elements:
  [e1] a: PracticeAutomatedTesting
  [e2] a: Home
  [e3] a: Web Elements
  [e4] a: API
  [e5] a: Shopping
  [e6] a: AI Tools
  [e7] button: Toggle theme
  [e8] a: Login
  [e9] a: Get Started
Step 2: Explore Web Elements
Ask: “Click on Web Elements”
The assistant uses click_element with ref: e3, and the page loads a rich sidebar with testable components organized into three categories:
- Elements — Simple Input Forms, Checkboxes, Radio Buttons, Web Tables, Links, Broken Links/Images, Upload and Download, Shadow DOM, Select Boxes
- Widgets — Date Picker, Slider, Progress Bar, Tabs, Hover and Tooltip, Accordion, Menu
- Interactions — Resize, Drag and Drop, Geolocation, Sorting, Frames, Keypress, Modal, Alert
Each of these is a self-contained exercise you can automate with natural language commands.
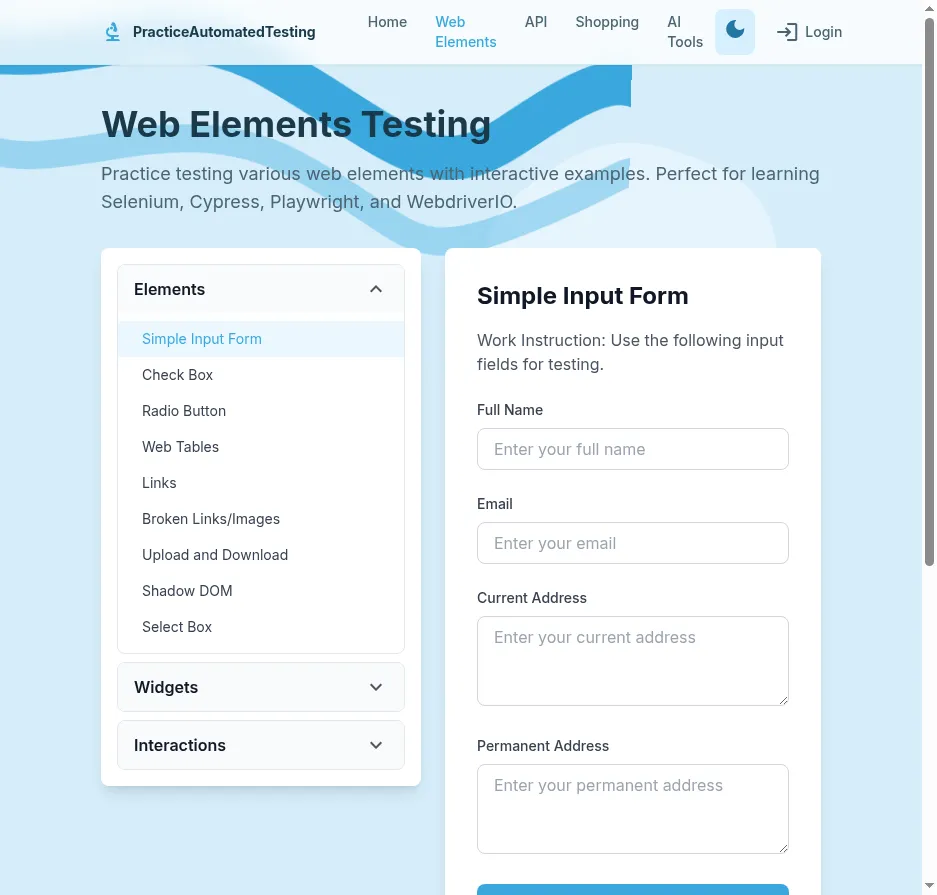
Step 3: Fill Out a Form
With the Simple Input Form loaded, you can say:
“Type ‘John Doe’ in the first input, ‘john@example.com’ in the second input, and click Submit”
The assistant sequences three tool calls — two input_text calls and one click_element — filling in the form and submitting it, just like a real user would.
Step 4: Test the Shopping App
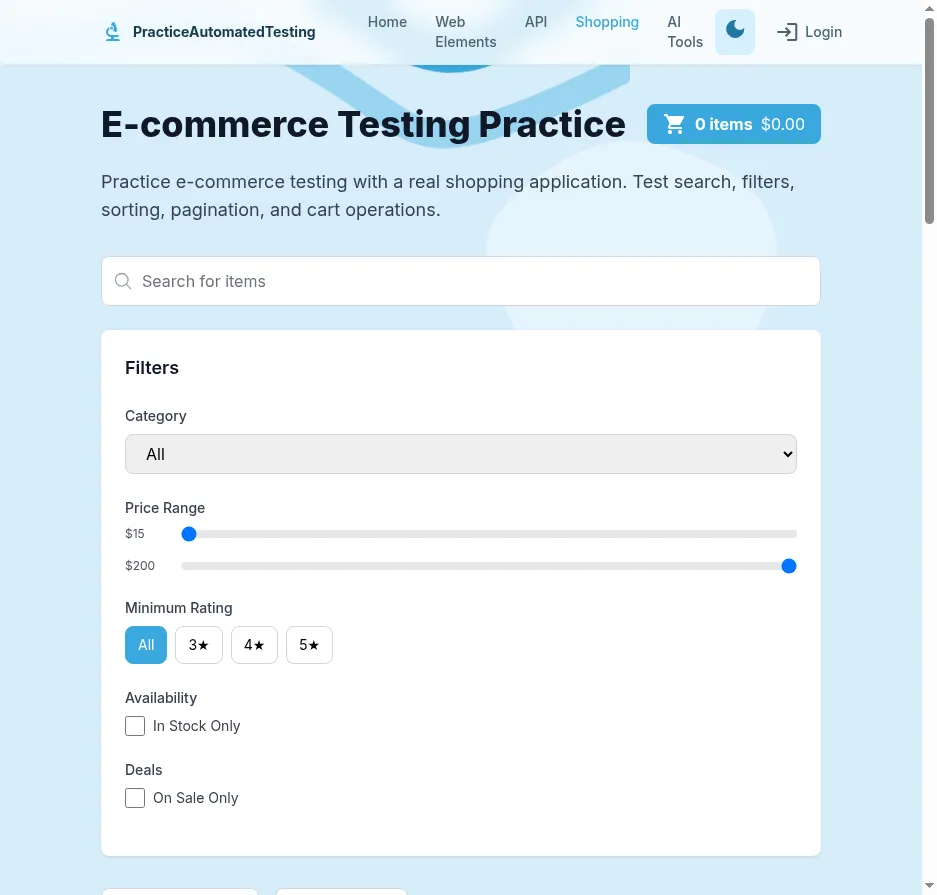
Navigate to the Shopping section, and you’ll find a fully functional e-commerce interface with product listings, category filters, price range sliders, star ratings, sorting controls, a shopping cart, and pagination. Ask:
“Filter products by Electronics, sort by price, and add the first item to the cart”
The assistant will use click_element and select_option tools to interact with the filters and buttons, then verify the cart updated using verify_text_visible.
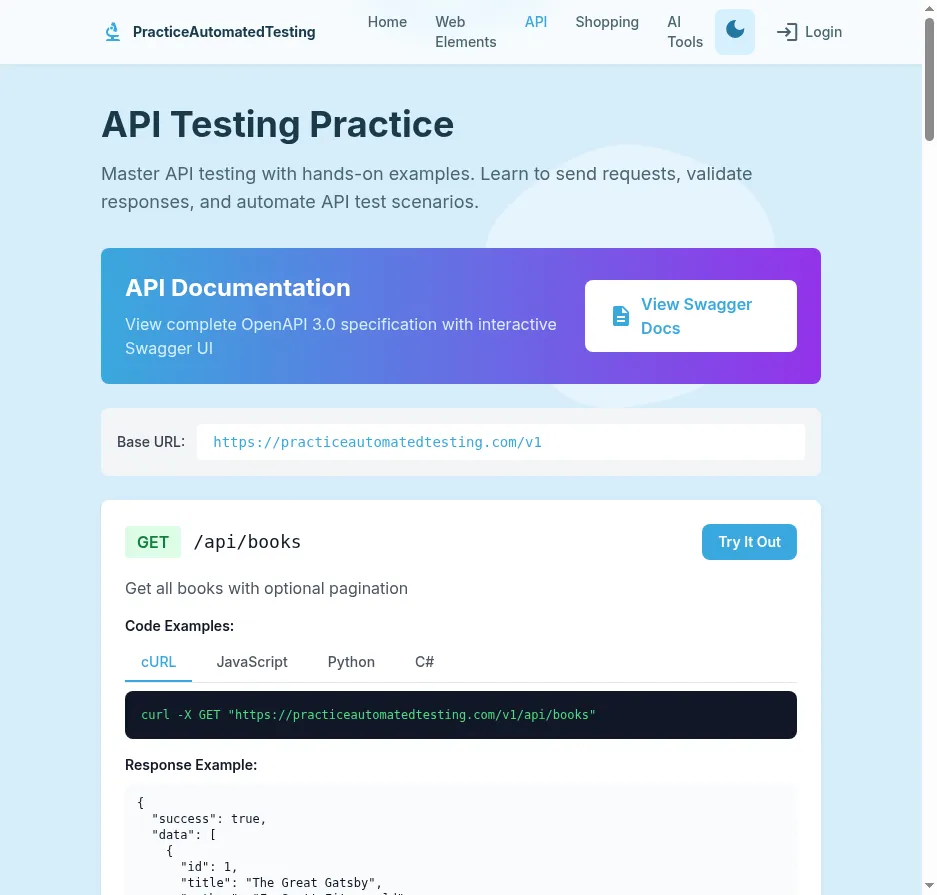
Step 5: Interact with the API Section
The API section provides interactive documentation with “Try It Out” buttons and code snippets in cURL, JavaScript, Python, and C#. You can ask:
“Click the first Try It Out button and show me the response”
The assistant executes the API call within the browser and captures the result.
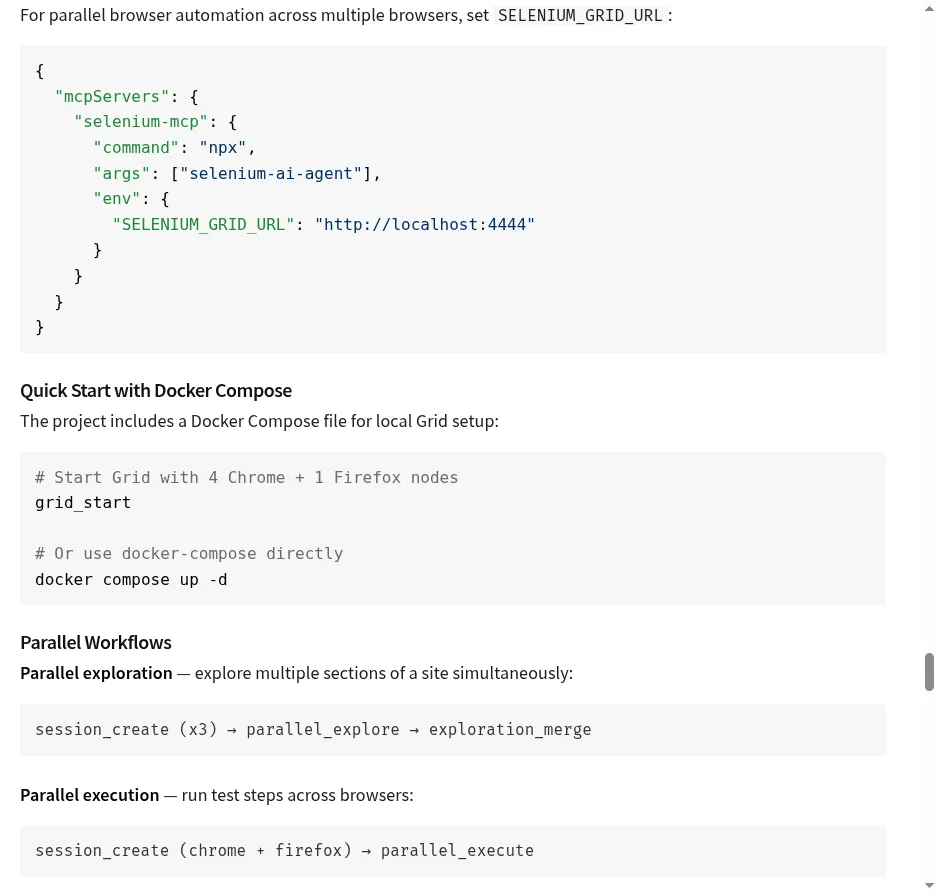
Going Parallel with Selenium Grid
For larger test suites, selenium-ai-agent supports Selenium Grid for parallel execution. If you have Docker available, the grid setup is straightforward.
Check Grid Status
Tool: grid_status

Grid Status: READY
Capacity: 0/5 slots used (5 available)
Nodes:
  - chrome 144.0 (x4)
  - firefox 147.0 (x1)
Create Grid Sessions
Tool: session_create
Browser: chrome
Tags: ["smoke-test"]
You can create multiple sessions and run tests in parallel across different browsers, which is ideal for cross-browser testing of sites like practiceautomatedtesting.com.
Parallel Exploration
One of the most powerful features is parallel_explore, which lets you explore multiple sections of a site simultaneously across different browser sessions. For example, you could explore the Web Elements, Shopping, and API sections all at once:
Tool: parallel_explore
Base URL: https://practiceautomatedtesting.com
Targets:
  - /webelements
  - /shopping
  - /api
The Test Generation and Healing Pipeline
Beyond ad-hoc browser control, selenium-ai-agent includes a complete test lifecycle pipeline:
1. Plan — Use planner_setup_page and planner_explore_page to discover features and generate a structured test plan.
2. Record & Generate — Start recording browser actions with start_recording, interact with the application naturally, then stop recording. The action log is used to generate test scripts in your preferred framework (Selenium + Python/pytest, Playwright, etc.).
3. Heal — When tests break due to UI changes, use healer_run_tests to identify failures, healer_inspect_page to compare expected vs. actual locators, and healer_fix_test to automatically repair the broken tests.
This pipeline turns manual exploratory testing into maintainable automated test suites.
Useful Configuration Options
You can customize the agent’s behavior through environment variables in your MCP config:
{
  "mcpServers": {
    "selenium-mcp": {
      "command": "npx",
      "args": ["selenium-ai-agent"],
      "env": {
        "SELENIUM_HEADLESS": "true",
        "SELENIUM_STEALTH": "true",
        "SELENIUM_MCP_SAVE_TRACE": "true",
        "SE_AVOID_STATS": "true"
      }
    }
  }
}
Key options include headless mode for CI/CD environments, stealth mode to hide automation indicators, session tracing for debugging, and Grid URL configuration for distributed testing.
Why This Matters
Traditional browser automation requires writing and maintaining verbose WebDriver code. With selenium-ai-agent, the entire workflow shifts to natural language. You describe what you want to test, and the AI handles element discovery, interaction sequencing, and verification — all through a standardized MCP protocol that works across multiple AI clients.
For teams practicing on sites like practiceautomatedtesting.com, it’s a way to learn automation concepts without getting bogged down in boilerplate. For production teams, it’s a way to accelerate test creation and maintenance by pairing AI intelligence with Selenium’s battle-tested browser control.
Get Started
- Install:
npm install -g selenium-ai-agent - Add to your MCP client config
- Open your AI assistant and say: “Navigate to practiceautomatedtesting.com and explore the Web Elements section”
- Start automating.
Links:
- npm: npmjs.com/package/selenium-ai-agent
- Practice site: practiceautomatedtesting.com